
Correctly adjusted trailer brakes are essential for safe towing. Brakes that are too tight will drag and overheat; brakes that are too loose will not provide adequate stopping power. This guide covers how to adjust overrun trailer brakes — the most common type on UK trailers — including AL-KO, Knott and Indespension systems.
Important: before adjusting your trailer brakes, secure the handbrake on your coupling head. This prevents the coupling from moving during the adjustment process and avoids injury. On Indespension couplings, insert an M10 bolt through the coupling lockout hole rather than strapping the handbrake.
How overrun brakes work
Most UK trailers use an overrun braking system. When the towing vehicle brakes, the trailer's forward momentum pushes the drawbar into the coupling head, which activates a lever mechanism that applies the trailer brakes via a cable and compensator system. The brake shoes press against the inside of the brake drum, creating friction and slowing the trailer.
Unlike electric trailer brakes — which are common in North America — UK overrun brakes are fully mechanical and require no controller. They do, however, require periodic adjustment as the brake shoes wear down and the cable stretches over time.
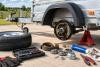
Tools you will need
• Axle stands and a trolley jack
• Wheel chocks
• A flathead screwdriver
• A spanner (typically 13mm or 17mm depending on your system)
• A tape measure or ruler
• Brake adjustment tool (optional but useful — a long screwdriver will work)
Step 1 — Prepare the trailer
Park the trailer on level ground and chock the wheels that you are not working on. Secure the handbrake on the coupling (or insert the M10 lockout bolt on Indespension systems). Working on one axle at a time, jack the trailer and place axle stands under the chassis — never work under a trailer supported only by a jack.
Step 2 — Check the cable and compensator
Before adjusting the brake shoes, check the condition of the brake cable and compensator. The cable should move freely with no fraying, kinking or corrosion. The compensator (the equaliser bar that distributes braking force between left and right) should be at approximately 90 degrees to the brake rod when the brakes are fully released. If the compensator is off-angle, the cable adjustment at the coupling end needs attention first before the drum adjustment will be effective.
Check the brake rod for free movement. If it feels stiff or seized, free it with penetrating oil and work it back and forth before proceeding. Seized rods and links are a common cause of uneven braking and should be addressed before any other adjustment.
Step 3 — Adjust the brake shoes
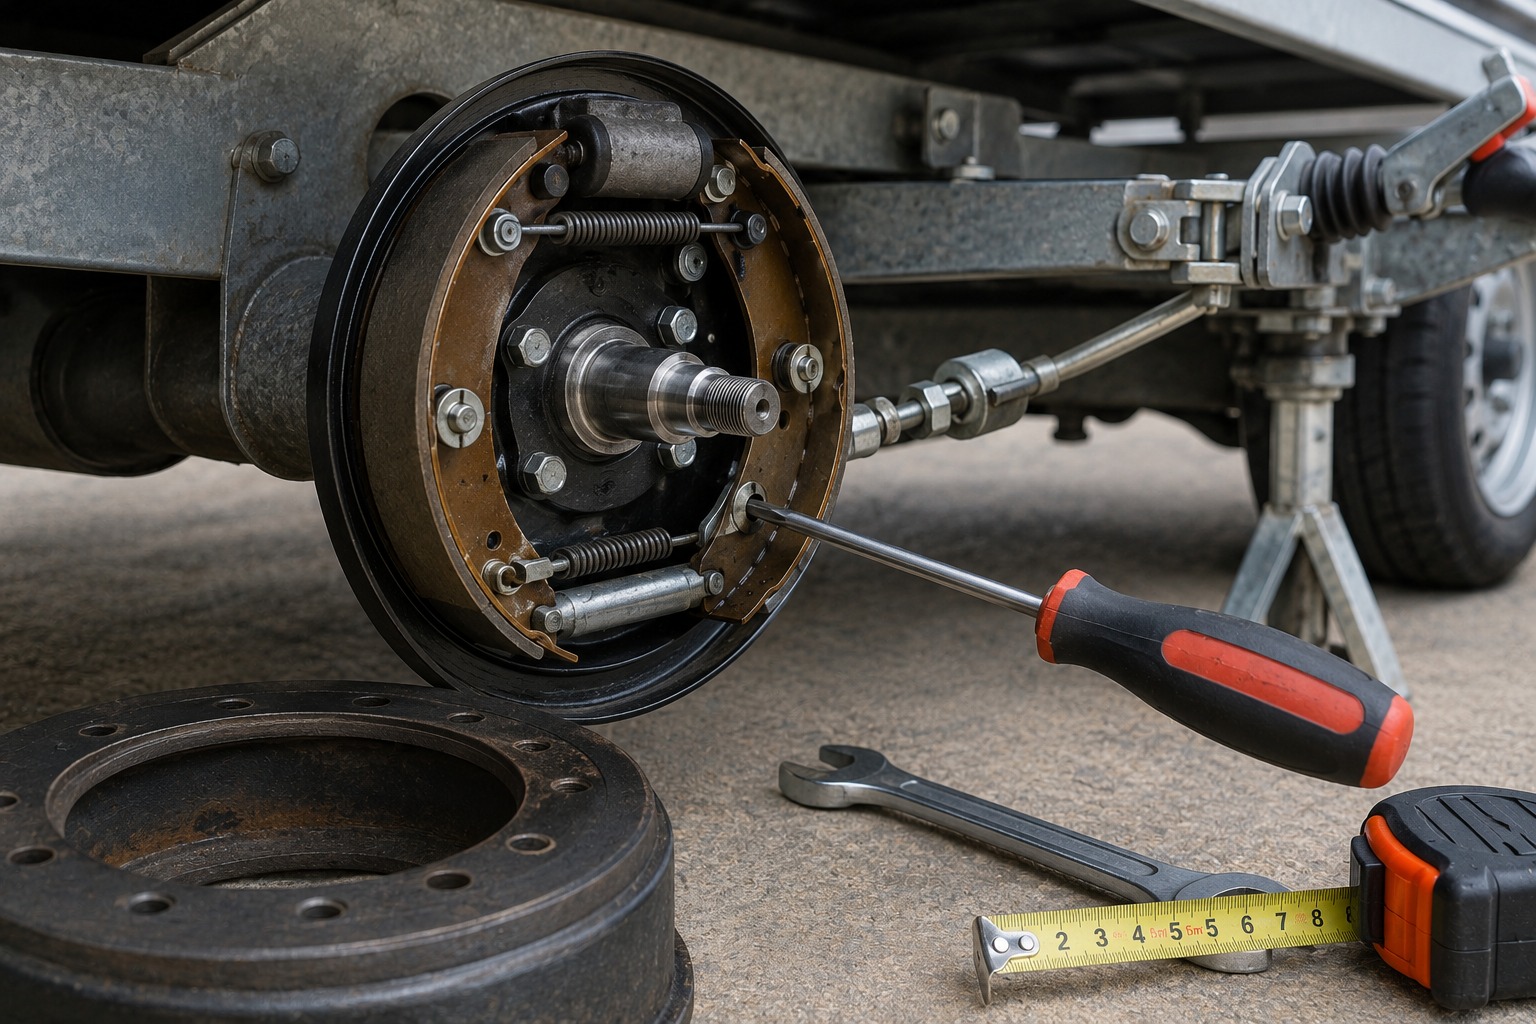
On the back of each brake backplate, you will find a rubber or plastic adjuster plug. Remove this plug and insert a screwdriver or brake adjustment tool into the hole to engage the adjuster wheel (also called the star wheel adjuster on some systems). On AL-KO systems, rotating the adjuster clockwise tightens the AL-KO brake shoes against the drum; anti-clockwise loosens them. Always check the direction arrow on the backplate — it can vary between manufacturers.
Tighten the adjuster one click at a time. After each click, spin the wheel by hand in the forward direction only — spinning backwards can engage the auto-reverse mechanism and give a false reading. The correctly adjusted position is where the wheel spins freely with only the slightest drag from the shoes. Once you feel this resistance, back off one or two clicks until the wheel spins completely freely.
Repeat this process on every brake assembly. Consistency across all drums is important — if one drum is tighter than the others, that wheel will lock up first under hard braking.
Step 4 — Adjust the brake cable
Once the shoes are adjusted at each drum, take up any excess slack in the trailer brake cable at the coupling end. The cable adjuster is usually a threaded rod secured with a locknut, located near the coupling head. Loosen the locknut and turn the adjuster to take up slack until the brake cable has approximately 2 to 5mm of travel before the brakes begin to engage. Retighten the locknut once set.
Operate the handbrake several times after adjusting the cable to allow the compensator and shoes to seat. Recheck the cable travel — it can change slightly as the mechanism settles.
Adjusting Knott brakes
Knott brake systems use a slightly different adjustment method. Rather than a star wheel accessed through the backplate, Knott brakes are adjusted by tightening a nut on the brake backplate itself while pushing the wheel forward. Knott brake shoes are adjusted until the wheel begins to drag, then the nut is backed off until the wheel rotates freely. The cable adjustment at the coupling end follows the same process as AL-KO systems.
Knott recommend that the brake link (the rod between the coupling lever and the compensator) has at least 5mm of free play before the brakes begin to engage. Check this after adjusting and readjust the cable if necessary.
When to replace brake shoes
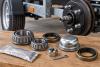
If you reach maximum adjustment on the star wheel and the brakes still feel ineffective, or if you hear grinding from the drums, the brake shoes are worn and need replacing rather than adjusting. Brake shoes should be replaced in axle pairs — replacing only one side will cause uneven braking. At the same time, inspect the brake drum for scoring or wear — a heavily scored drum will reduce the effectiveness of new shoes and may need replacing too.
Shop brake parts at TrailerTek
TrailerTek stocks a full range of brake parts and spares, including AL-KO and Knott brake shoes, brake cables, backplate assemblies and brake drums for all major UK trailer brands. Call us on 01962 774 988 if you need help identifying the right parts for your trailer.